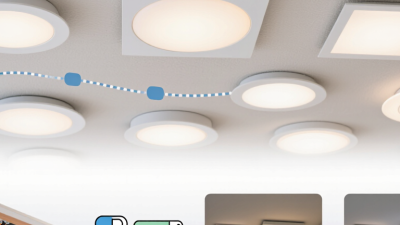
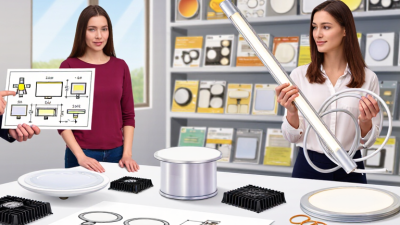
How to Choose the Best LED Recessed Lighting

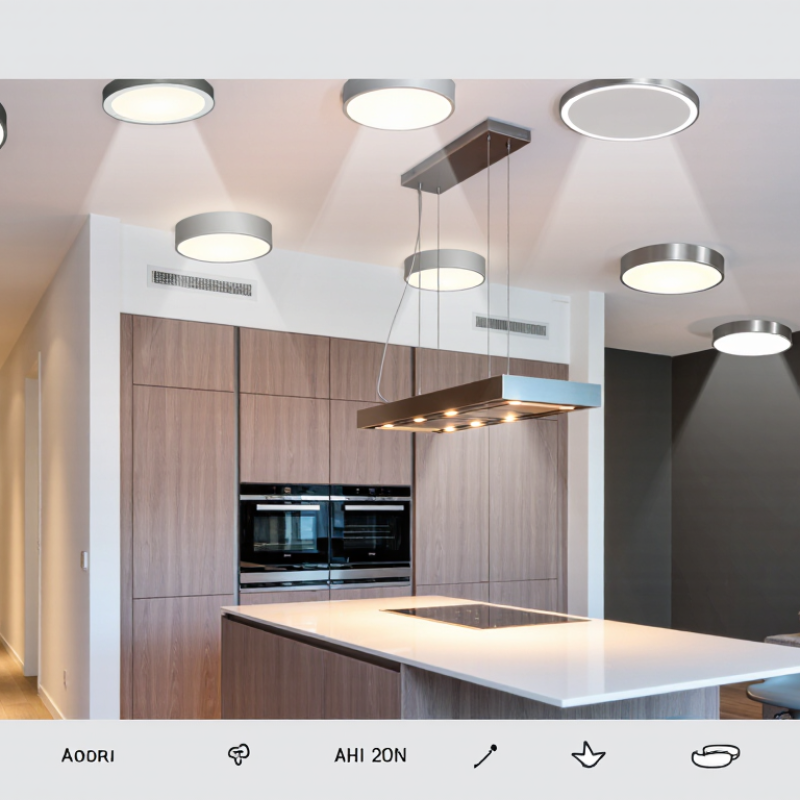
Choosing the right Led Recessed Lighting starts with the room, not the fixture catalog. A kitchen island needs clear, even task light. A hallway often needs less. Ceiling height, insulation, dimmer compatibility, and the existing wiring can change what works. Small details matter.

Lighting designer Randall Whitehead is known for advocating layered residential lighting. A practical summary of that approach is: “Use recessed lights to support a room, not to make every corner equally bright.” Treat that as a design principle, not a verified verbatim quotation. Recessed fixtures work best alongside other light sources, such as a pendant over a table or a lamp beside a sofa.

This guide explains how to compare color temperature, brightness, beam angle, trim style, and fixture ratings. It also covers where to place lights and what to check before installation. A warm 2700K glow may suit a bedroom, while a brighter, neutral option can help at a work surface. But room finishes change how light appears. A white ceiling reflects more than a dark one. There is no perfect formula.

That is worth remembering. Even a carefully planned layout may need adjustment after the lights are on. The goal is comfortable, useful illumination—not a ceiling full of bright circles. Choose with care, test where possible, and let the room guide the final decision.
How to Choose the Best LED Recessed Lighting

Understand How LED Recessed Lighting Works

An LED recessed light makes illumination with a semiconductor, not a heated filament. When electricity passes through the LED, it produces light. A driver converts household alternating current into the controlled current the LED needs. The trim directs light into the room, while the housing holds the components above the ceiling. Some models combine these parts in one unit. No glowing filament is involved.

Heat still matters. The LED and driver produce heat, and the fixture needs to move it away to work reliably. A heat sink helps; poor airflow or an unsuitable housing can shorten the light’s service life. Check the fixture’s insulation-contact rating if ceiling insulation may touch it, and follow its installation instructions. Then compare lumens for brightness, color temperature for warmth, and beam angle for coverage. Dimmers must also be compatible. These figures can feel abstract until you see the light on a wall. A small sample or test fixture can reveal surprises.

Tips: Match the light to the room, not just the cutout size. Check dimmer compatibility before buying. If wiring or insulation clearance is uncertain, ask a qualified electrician. I still find color temperature harder to judge from a box than from the actual room.

How to Choose the Best LED Recessed Lighting: Understand How It Works

LEDs convert electrical energy into light, so wattage indicates power use while lumens indicate brightness. This chart shows illustrative outputs calculated at 80 lumens per watt; actual recessed-light performance varies by product, optics, and driver. Choose brightness in lumens, then consider beam angle, dimming compatibility, and color temperature for your space.

Assess Room Size, Ceiling Type, and Lighting Needs

Room size sets the starting point, but it does not determine the number of recessed lights by itself. Measure the floor area and ceiling height, then consider existing windows, lamps, and dark finishes. As a rough planning guide, general ambient lighting often uses about 10–20 lumens per square foot. Kitchens and reading areas may need brighter, focused light. A narrow beam can create bright circles on the floor, while a wider beam spreads light more evenly. Measure twice.

Ceiling construction matters just as much. In an insulated ceiling, choose fixtures rated for insulation contact and follow the required clearance instructions. Check for joists, ducts, and wiring before deciding on locations; a drawing cannot reveal every obstruction. Sloped ceilings need fixtures designed to aim light downward without leaving dark patches. Bathrooms and covered outdoor areas may require fixtures rated for damp or wet locations.

Match the layout to daily activities. Place task lighting over counters or a desk, rather than relying on one bright fixture in the room’s center. Dimmers can help a living room shift from daytime work to softer evening light, but the dimmer and LED fixtures must be compatible. Even a careful plan can feel too bright after installation. Adjustable color temperature may help, though it adds another choice to get right.

Compare Brightness, Color Temperature, and Efficiency

Brightness is measured in lumens, not watts. A higher lumen number means more light, but it does not guarantee a comfortable room. For a kitchen, check whether light reaches the work surface without leaving dark patches between fixtures. In a hallway, softer output may be enough. A narrow beam can look bright on the floor yet leave the walls dim. Check beam angle and fixture spacing, too.

Color temperature, listed in kelvins, changes the room’s feel. Around 2700K often appears warm and relaxed; 3000K is still warm but can feel clearer. Cooler options may suit detailed work, though they can look stark beside warm wood or painted walls. Compare samples in your actual room, at night and in daylight. Small differences show up. I once underestimated how much a white ceiling would reflect; the room felt brighter than expected. That judgment is not universal.

Efficiency is usually expressed as lumens per watt. A fixture producing more light for the same power can reduce energy use, but compare models at similar brightness. Also check dimming compatibility and the rated lifetime, not just the most flattering specification. A very efficient light that flickers with your dimmer is a poor fit. Specifications help, but they cannot fully predict the result in your ceiling. It is worth admitting that choosing by numbers alone can still miss the mark.

How to Choose the Best LED Recessed Lighting: Compare Brightness, Color Temperature, and Efficiency

Room or Use Typical Brightness per Fixture Typical Power Approx. Efficiency Suggested Color Temperature What to Look For
Bedroom or relaxed living area 600–800 lumens 6–9 watts About 75–133 lumens per watt 2700–3000 K Choose dimmable lighting for adjustable comfort; a warmer color temperature creates a cozy feel.
Hallway or general ambient lighting 600–900 lumens 6–10 watts About 60–150 lumens per watt 2700–3500 K Use consistent color temperature across fixtures for an even appearance. Consider spacing and ceiling height when planning coverage.
Kitchen general lighting 800–1100 lumens 8–12 watts About 67–138 lumens per watt 3000–4000 K Look for good color rendering, typically CRI 90 or higher when accurate color appearance is important.
Task area or work surface 900–1200 lumens 9–14 watts About 64–133 lumens per watt 3000–4000 K Check that the beam and fixture placement illuminate the work area without creating harsh glare or shadows.
Bathroom or utility space 700–1000 lumens 7–11 watts About 64–143 lumens per watt 3000–4000 K Choose a fixture rated for the installation location and applicable moisture exposure; follow local electrical requirements.
Accent lighting 400–700 lumens 4–8 watts About 50–175 lumens per watt 2700–3500 K A narrower beam can emphasize artwork or architectural details. Compare beam angle and dimming compatibility.

How to compare: Lumens indicate light output; watts indicate electricity use. Efficiency is calculated as lumens divided by watts. Figures are representative selection ranges, not guaranteed product specifications. Check the fixture label for actual output, power, color temperature, CRI, dimmer compatibility, and certifications.

Choose Fixture Size, Trim Style, and Dimming Features

Choosing recessed lighting starts with the room, not a catalog photo. Measure the ceiling height and note what each fixture should illuminate: a countertop, reading chair, or open floor. Four- or six-inch fixtures suit many homes, but diameter alone does not determine brightness. Compare lumen output and beam spread, then sketch fixture spacing before cutting openings.

I once underestimated how sharply a narrow beam highlighted a kitchen island. A layout check would have helped.

Trim changes both appearance and comfort. Baffled trim can soften glare, which helps in rooms where people look upward or relax. Reflective trim sends light efficiently, but a bright surface may feel harsh in a low ceiling. Gimbal trim lets you aim light toward artwork or a sloped ceiling.

Hold a sample against your ceiling if possible; small differences in white can stand out.

Check that the fixture and dimmer are rated to work together. Some LED lights flicker, buzz, or dim unevenly with incompatible controls, so confirm the specified dimmer range before buying. Dimming is useful for shifting a living room from focused tasks to a quieter evening mood.

Test the lowest setting, too. It may not be as low as you expect.

Check Installation Requirements and Safety Ratings

Before buying recessed LEDs, measure the ceiling cavity and check for joists, ductwork, and insulation. Insulated ceilings need fixtures specifically marked for insulation contact, often labeled IC-rated. Where the ceiling separates conditioned rooms from an attic, an airtight-rated fixture can also help limit air leakage. Match the fixture’s voltage and dimmer compatibility to the existing circuit. DOE’s LED lighting guidance reports that LEDs use up to 90% less energy than incandescent lighting, but efficient lighting still needs safe installation.

Check the label for a recognized safety certification and the correct location rating. Damp or wet locations, such as showers, require fixtures listed for those conditions; a standard indoor rating is not enough. Follow the fixture instructions and local electrical requirements, especially for clearances and wiring. If the ceiling space is crowded or wiring is unfamiliar, ask a qualified electrician. I still double-check the insulation label; it is easy to miss when comparing trim styles.

Tips: Photograph the ceiling opening before shopping. Confirm the cutout diameter, ceiling thickness, IC rating, and dimmer type. Keep the installation sheet, too. Small detail, big difference.